Why save your images for email marketing campaigns in Virtual Disk? Learn!
Published in february, 27 of 2015
Using images in email marketing campaigns is a common practice, after all, a picture is worth a thousand words. The appeal, however, goes beyond a mere visual accessory and assumes a leadership role following the text to communicate the message that your company wants to spread.
Meeting the good practices that rule email marketing, we recommend that you host any image that will be used in an own server. Emailmanager has a space for that called Virtual Disk. This creates security, convenience and leaves your campaign lighter and ready to load faster when arriving in the inbox of your contacts. In this post, well teach you a step by step to save the images there and to apply them in your campaign.
How an email in HTML works
When creating their campaigns, most companies choose email in HTML. The format is chosen to offer more campaign freedom to creation. But how does it work? This mode offers hypertext elements directly in the email body, without necessarily being attached to the message. You can display logos, images, links, text, and distribute the information the way you want on the screen.
File attachments increase, a lot, the size of email. Not to mention that it gives more chances to the providers to block your content and even to report it as spam. So thats why the importance of hosting the images in emailmanagers Virtual Disk or on a web server. This way, when sending the campaign, the visual file isnt exactly the image, but the HTML tag of the image. In a few words, its web address, referring to the server's file. The image will be lighter, since it will be composed only of codes, it will not overload the server and it will be loaded as soon as the user opens the email.
How to host images on the Virtual Disk
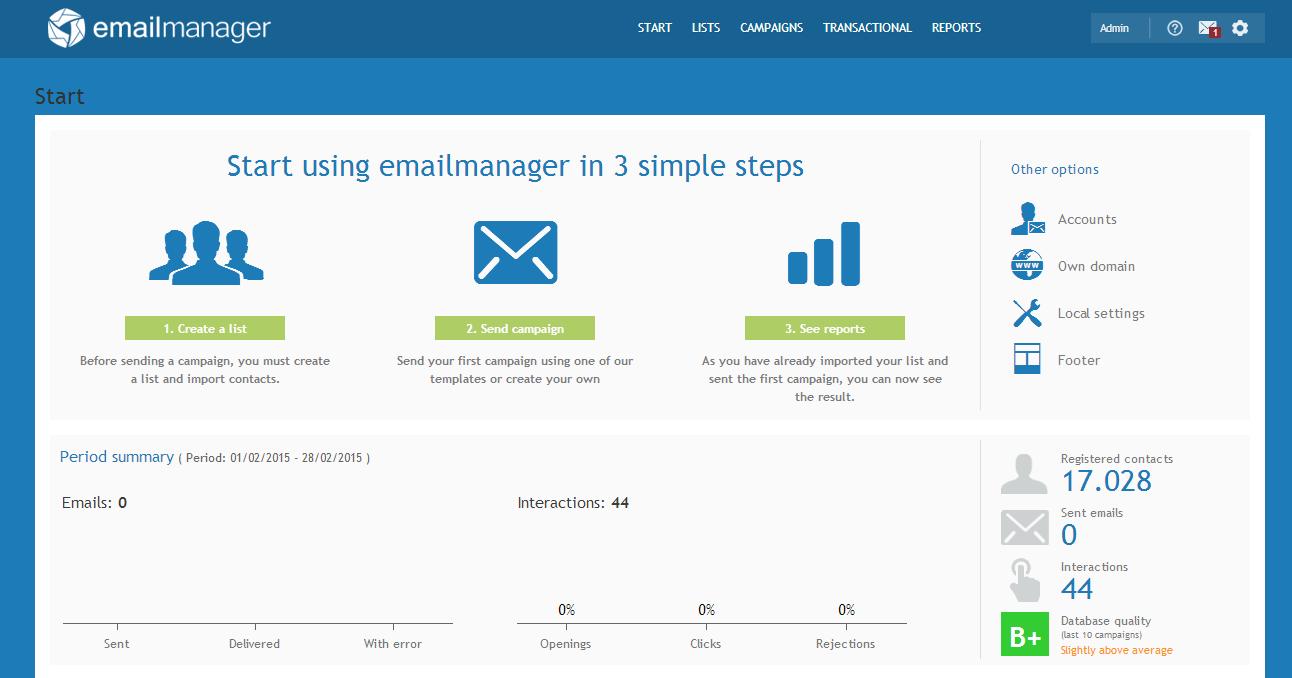
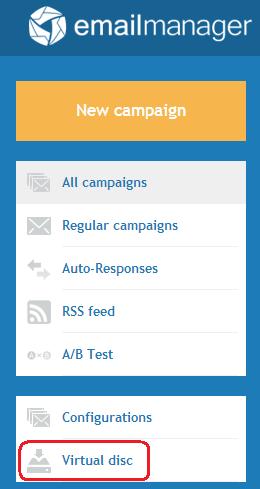
Now that you know what an email in HTML is, lets go to step by step. To store images you will use in your email marketing campaigns, log into your account at emailmanager. In the system, click on Campaigns and search in the sidebar at your left the Virtual Disk option.
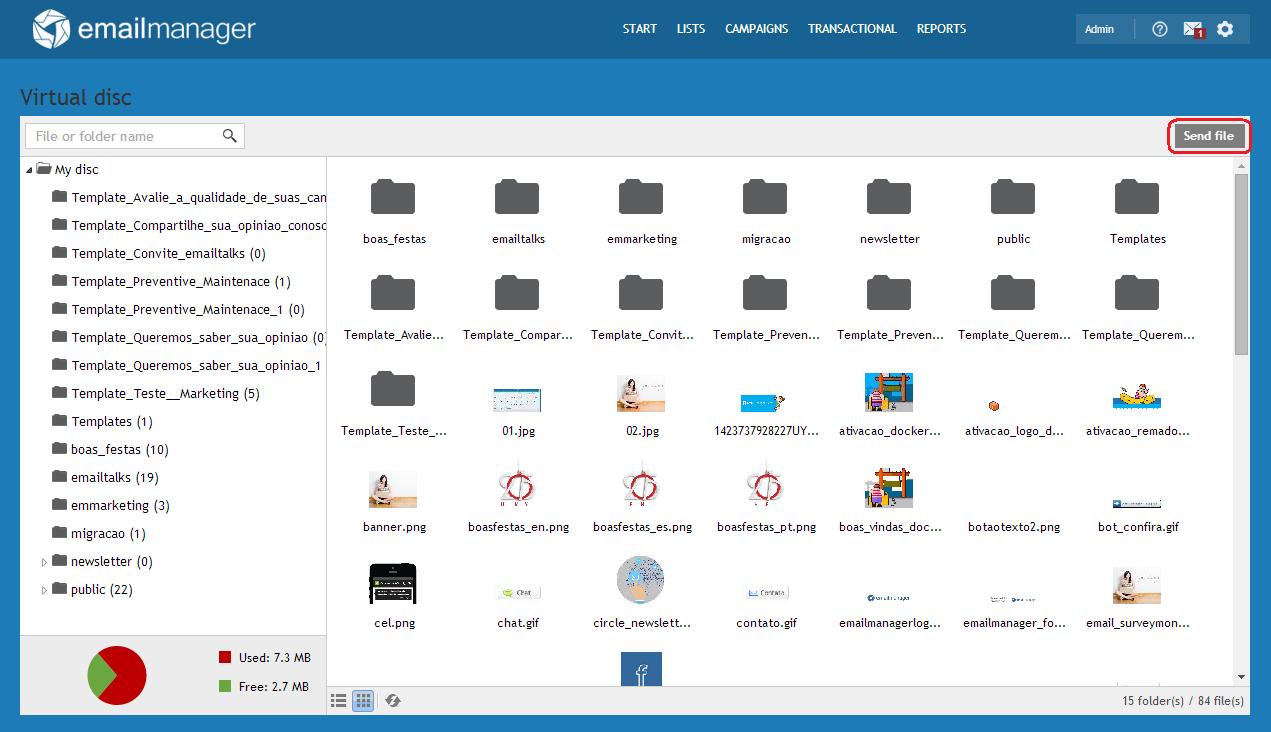
When you click on it, a new screen will appear. On the left, you will see all the folders created in the system. Select an existing option or create a new one to store the images of the campaign that you will send and click on Send File in the upper right corner of the screen.
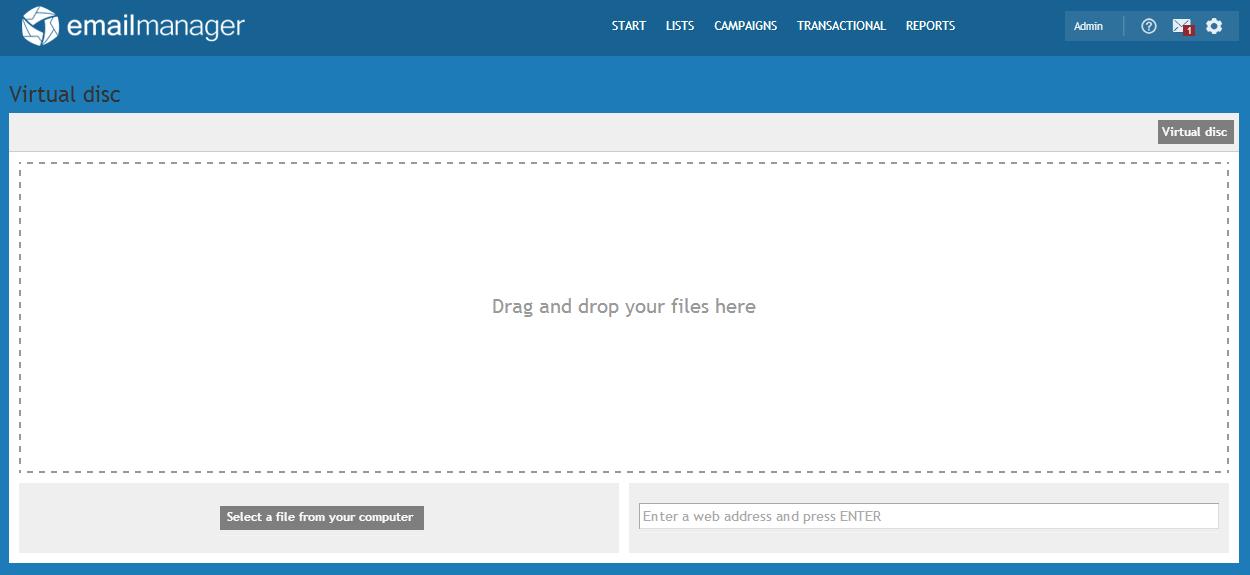
In the new screen, you can drag and drop the images to place them in the space inside the dotted line, as shown below, or click in select a file from your computer.
How to insert or edit images in the campaign
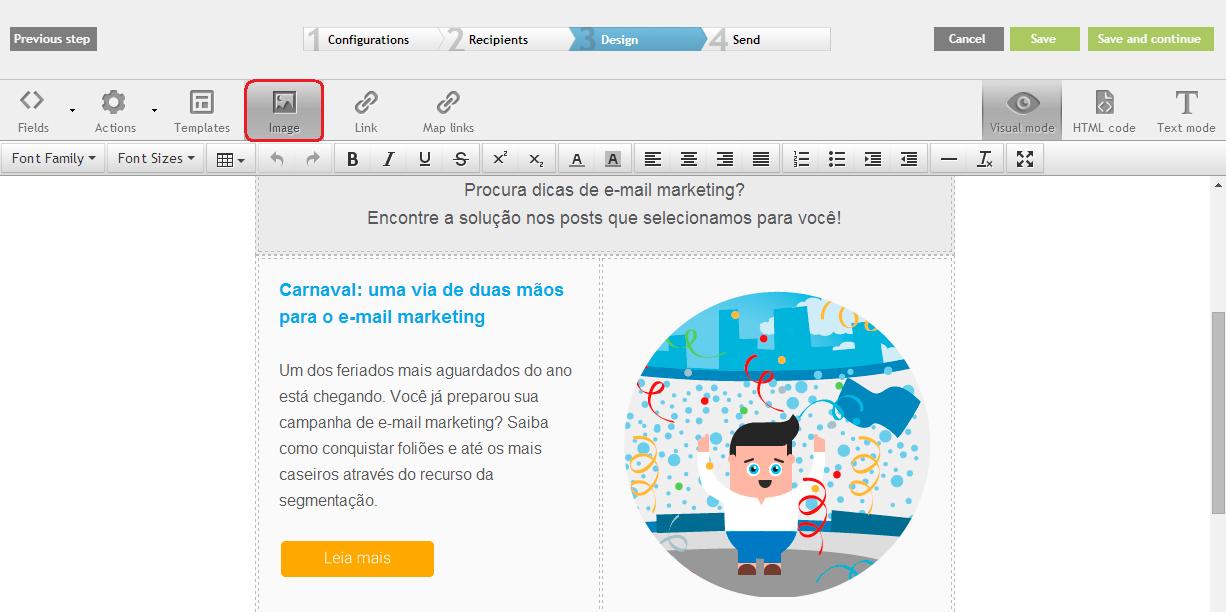
With the images hosted on emailmanagers Virtual Disk, let's see how to insert them in a new campaign or how to edit images from an existing email. Go to Campaigns and click on New Campaign and select the model you want (Regular, Autoresponder, A/B Testing or RSS by email) or click on Regular Campaigns. The process is the same for both cases. When you are in Design step, look for Image option in the edit menu.
An small window will open for you to select the new image. If your campaign doesnt have one, you will see the same screen that appears when an image is hosted in the system. Just click on Virtual Disk, select the folder where the file is, give two clicks and press Apply. If you just want to change a picture in your campaign, click on Image or double-click the image to be changed and the following window will open.

Click Change Picture and repeat the process. Click on Virtual Disk, select the folder where the file is, double click and press Apply. Then youre ready to go!
Did you like the content? Share it!
We are at social networks, so go there and tell us what you think about the tips we posted to you!
Facebook, Twitter, LinkedIn, Google+
Do you have any questions about the platform or suggestions for our blog? Send it to us through the comments!